February 21

Bipedal Robot (Programming)

Present

Cartoon 21

Nampai 22

Satang 26

Panyaah 28

Mill 29

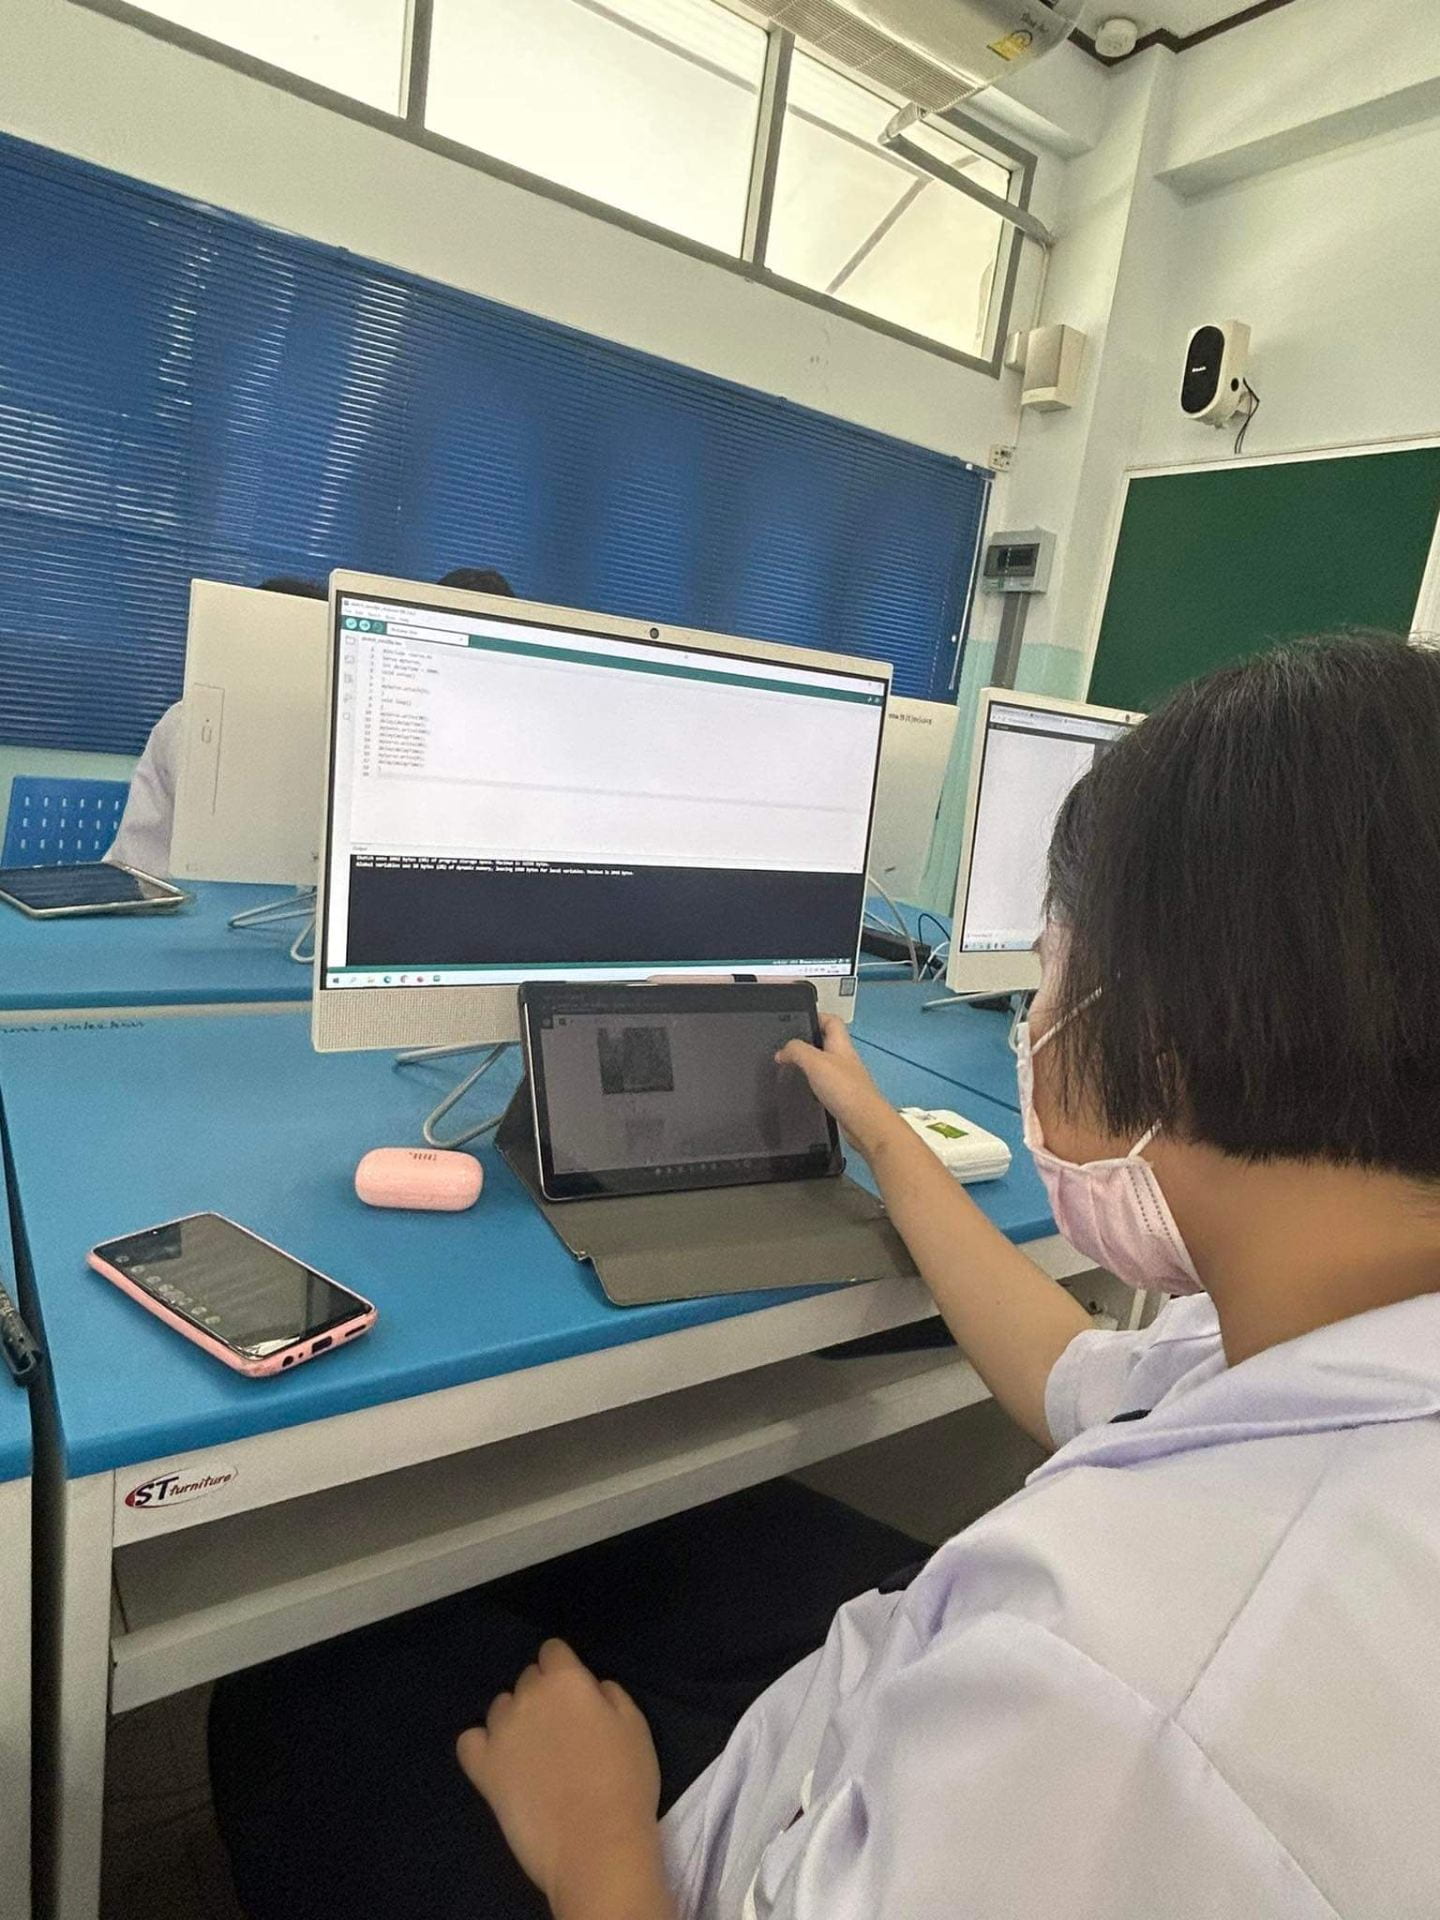
Task : Today we have to make the robot move.
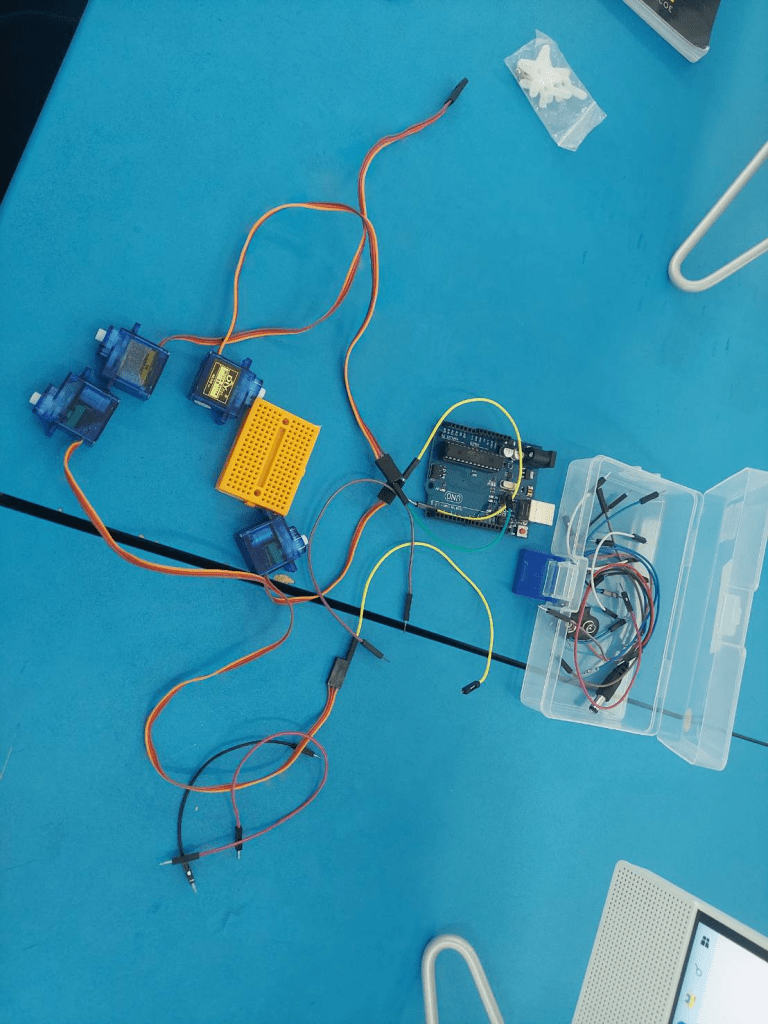
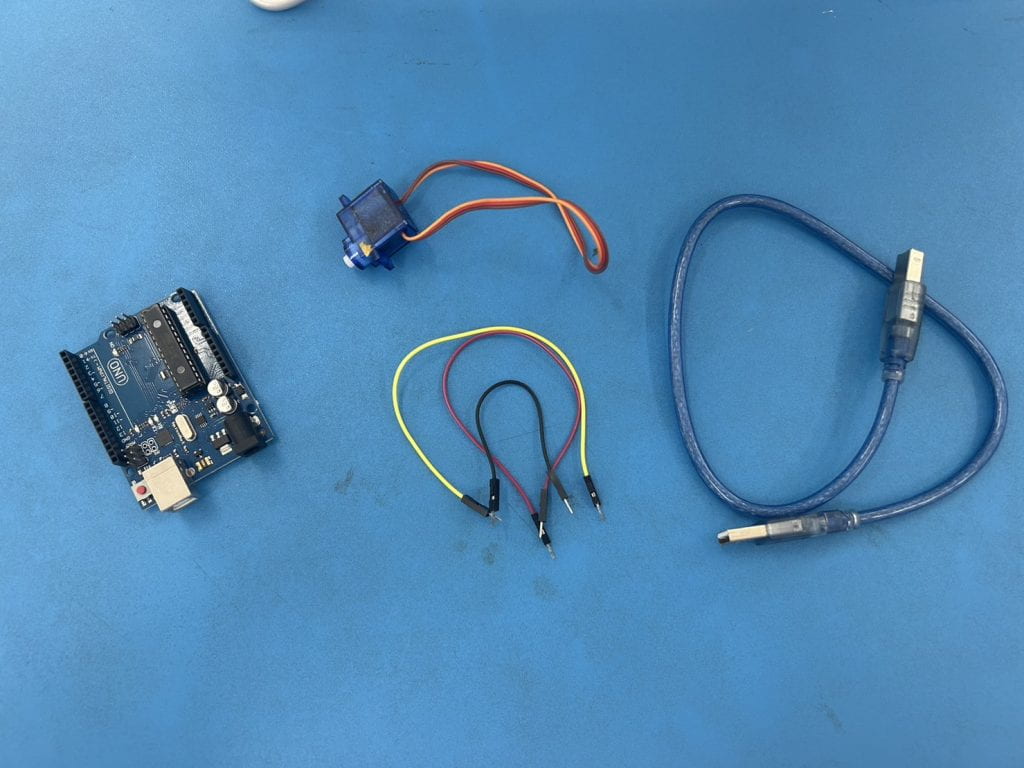
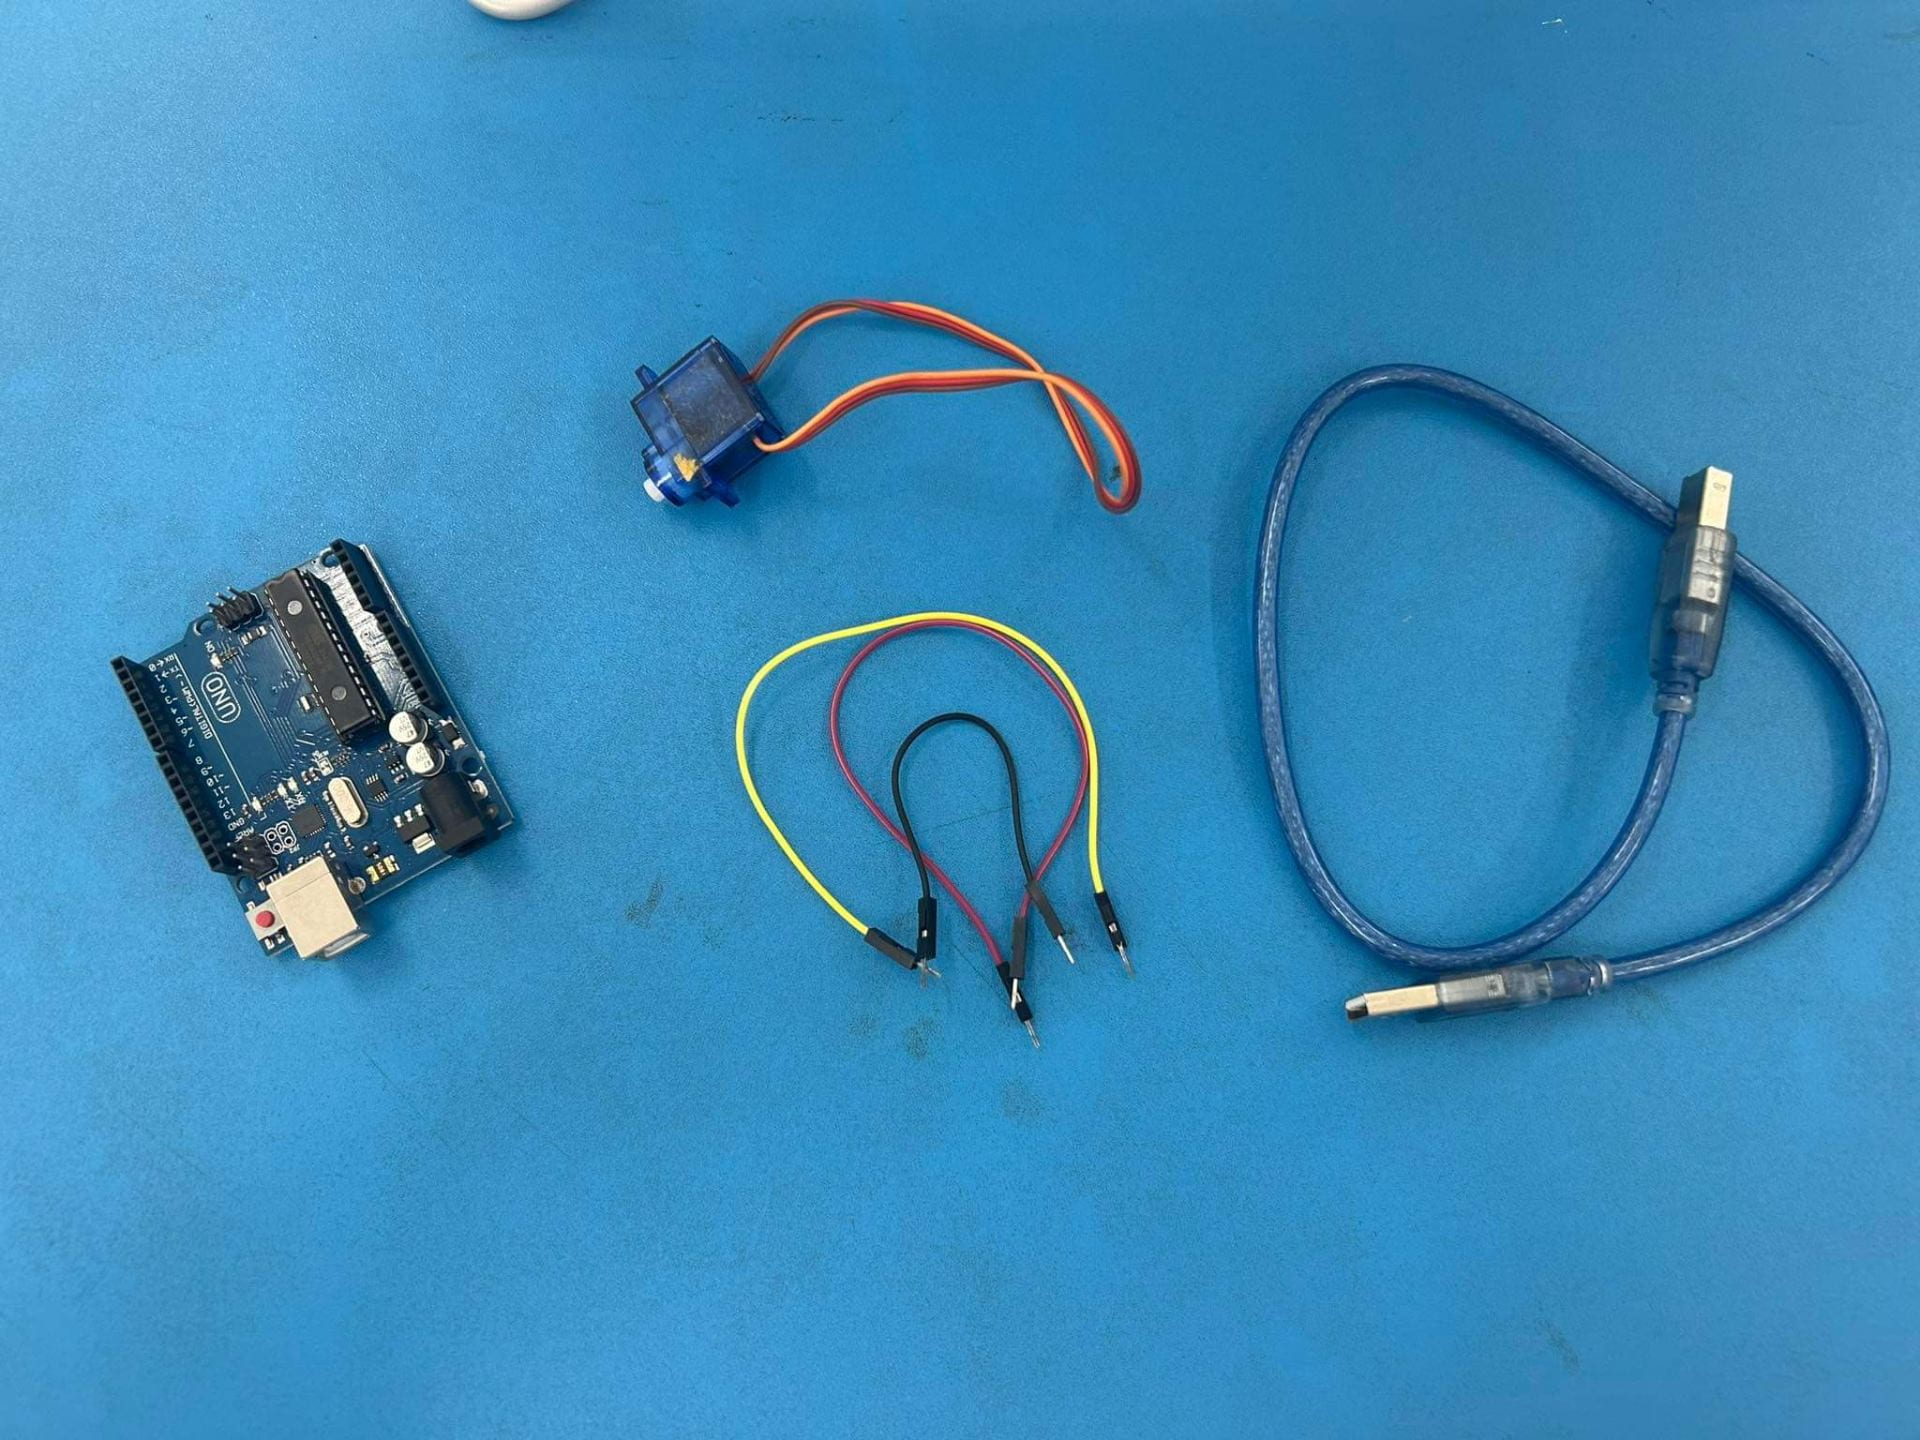
Components

1. Hot glue

2. Aduino board

3. Jumper wires

4. Breadboard

5. Servo motor

6. USB cable


Process

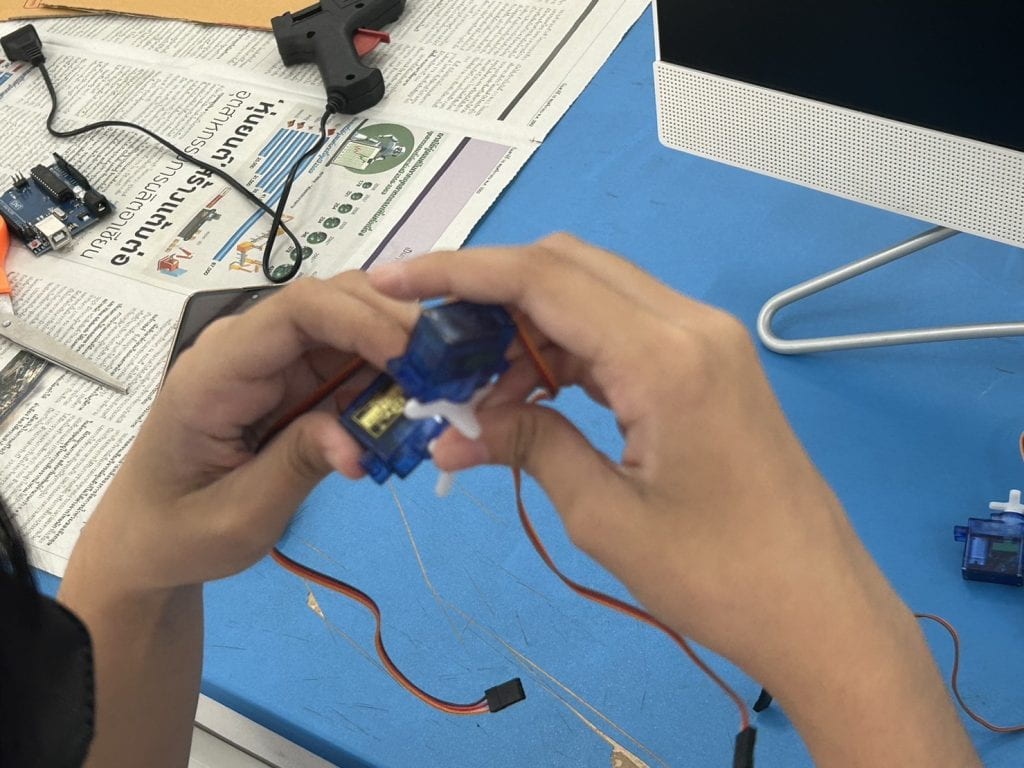
1. Use a Micro Servo Motor to connect the legs.


2. Use a Micro Servo Motor to connect the two sides.


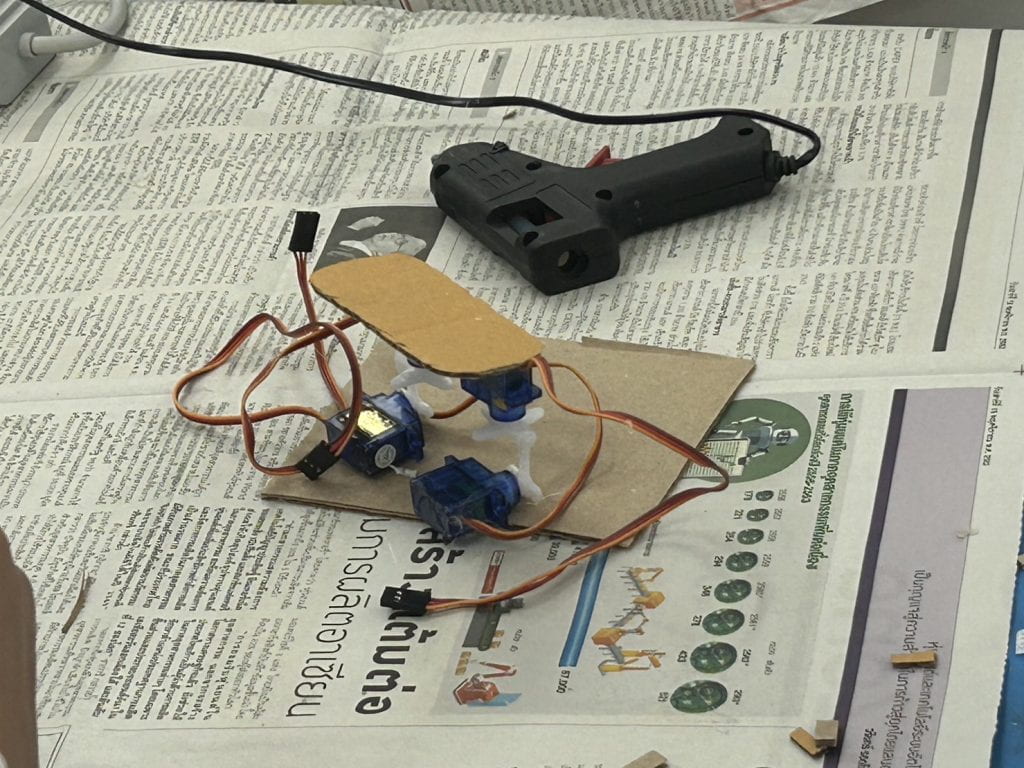
3. Use Cardboard to stick on top.


4. Use a Microcontroller and a Breadboard that is connected mounted on top.


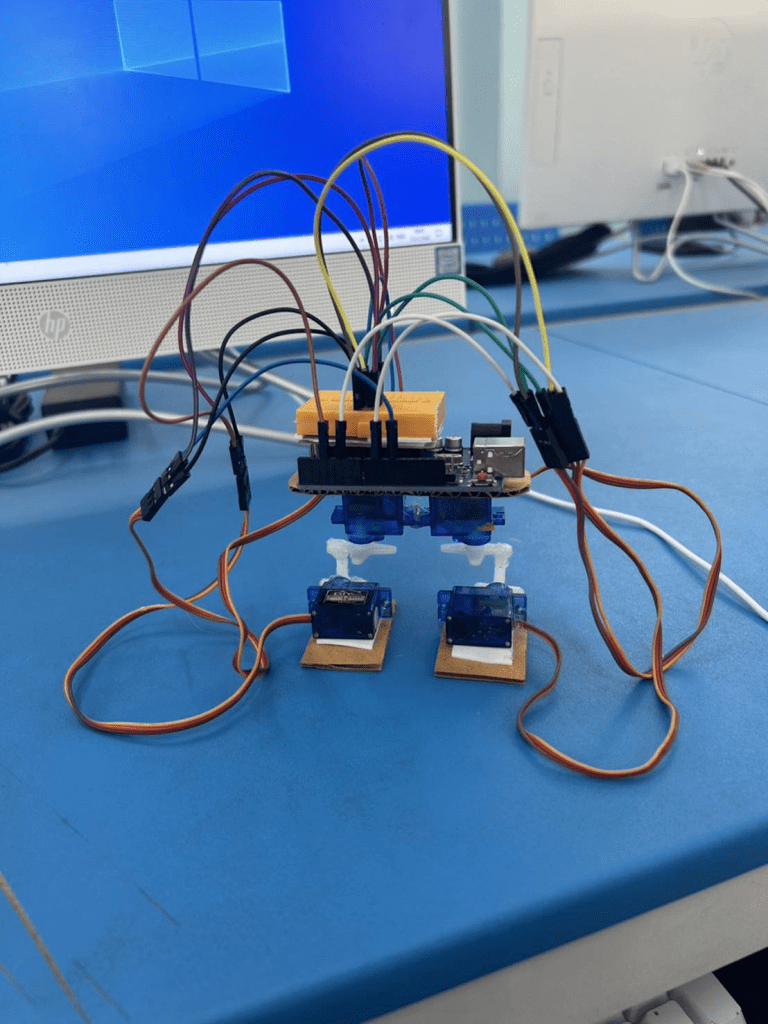
5. Use the wires from the Micro Servo Motor to connect to the bottom of the robot.


6. Connected to the code in your computer.

Output

February 12

Bipedal Robot (Prototype)

Present

  • Cartoon 21
  • Nampai 22
  • Satang 26
  • Panyaah 28
  • Mill 29

Today our team designing and building the bipedal robot.

Component

1. Hot Glue

2. Aduino board

3. Breadboard

4. Jumper wires

5.Servo motor

Process

1. Use a Micro Servo Moter to connect the legs.
2. Use a micro servo motor to connect the two sides.
3. Use cardboard to stick on top.
4. Use a microcontroller and a breadboard that is connected mounted on top.
5. Use the wires from the micro servo motor to connect to the bottom of the robot.


Output

February 1

Four Servo Motors

Present

  • Cartoon 21
  • Nampai 22
  • Stang 26
  • Panyaah 28

Absent

  • Mill29

Humanoid Robot

we used  

  • UNO Board
  • USB cable
  • Micro Servo Motor (4)
  • Jumper Wires

to create the circuit.


Process

1. Prepare the component used to build the circuit.


2. Connects the Micro Servo Motor and jumper wires together.


3. Then, connect the jumper wires to the breadboard and Arduino UNO Board.


4. Plug in USB cable to the Arduino UNO Board.


5. Plug in/connect the USB cable to computer and upload code on it and a circuit will work.

Output

December 26

Centering Two Micro Servos

What we did
: we made two micro servo motors

Components we used
: Breadboard, 2 Micro Servo Motors, 8 Jumper Wires, and Arduino UNO board

Process
First, connected 2 jumper wires from 5V and GND to the breadboard , and 2 from digital pins 2 and 3 to the servo motors. Then connected 4 jumper wires from the breadboard to the servo motors connected 4 jumper wires from the breadboard to the servo motors, and put the blades on the motors.

Pictures

December 4

Centering and Moving One Micro Servo Motor

– CW5

Attendance

  • 21 Cartoon
  • 22 Nampai
  • 26 Satang
  • 28 Panyaah
  • 29 Mill


Task

Moving One Micro Servo Motor


Components

  • Micro Servo Motor
  • Arduino UNO Board
  • Jumper Wires
  • USB cable


Process

  • Prepare equipment for use in the circuit.
  • Connect equipment : Red – 5V Brown – GND Orange – D2.
  • Connect the board to the computer by USB power cable.
  • Upload the code to the board.

Output

This is our video of our working circuit !

November 28

Introduction

OUR TEAM

Hello everyone! WELCOME to our site. Our team name is STURDY. Why do we have this name? Because Sturdy mean strong like people in our team and another meaning is a cool dance style . This name from Engineer in our team. We will do the BEST , although we not really good at this.

logo

MEMBER IN OUR TEAM

LEAD ENGINEER : PANYAAH

ROLL NUMBER : 28

ENGINEER : SATANG

ROLL NUMBER : 26

PROGRAMMER : NAMPAI

ROLL NUMBER : 22

DIGITAL JOURNALIST : CARTOON

ROLL NUMBER : 21

MEDIA PRODUCER : MILL

ROLL NUMBER : 29